
29 Ways To Make Your Kitchen Cleaner Than It’s Ever Been
Get your yellow rubber gloves ready.
posted on May 17, 2016, at 12:01 p.m.

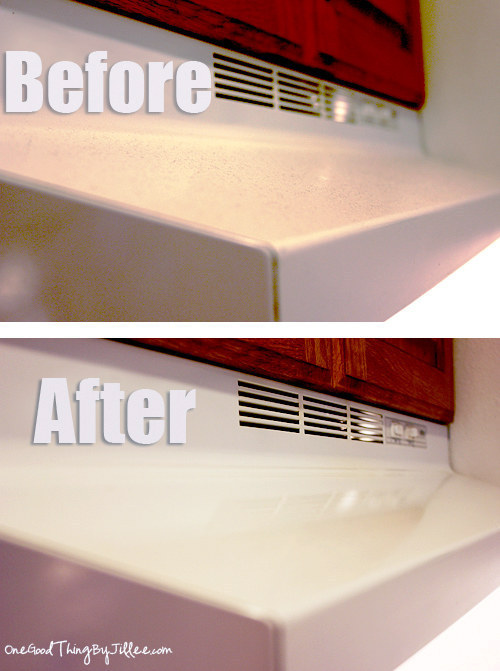
1. Soak the filter for your vent hood in hot water and Borax to make it shine again.
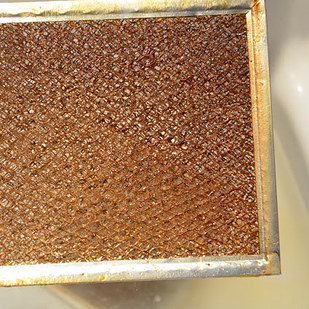
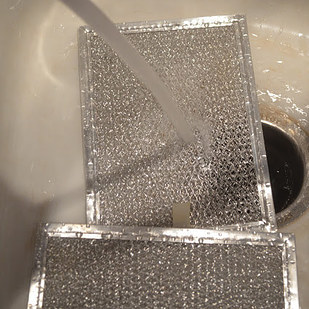
A soak in hot water and a heavy dose of Dawn dish soap would probably work pretty well, too. Here’s the full tutorial.
2. Scrub the burnt bottoms of your pans with Bar Keeper’s Friend to make them look new.
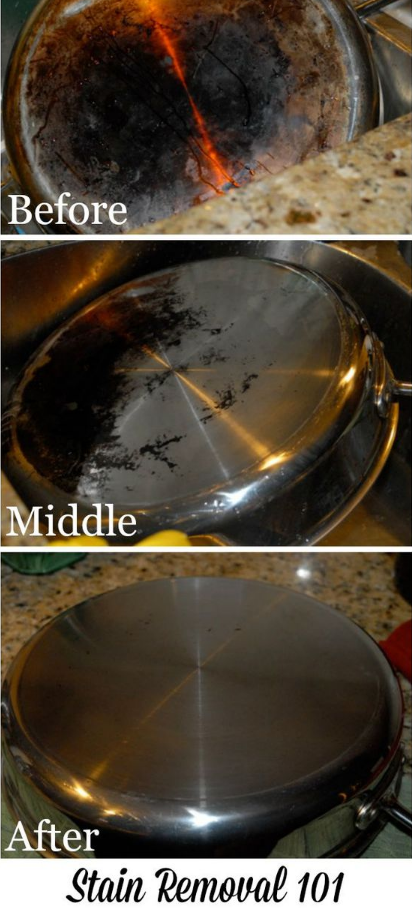
Read the full review of this technique here.
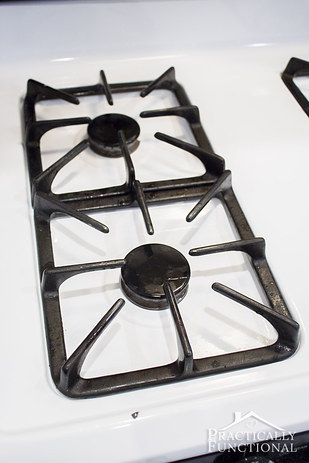
3. Shine up greasy grates on your stove by soaking them overnight with a little ammonia.
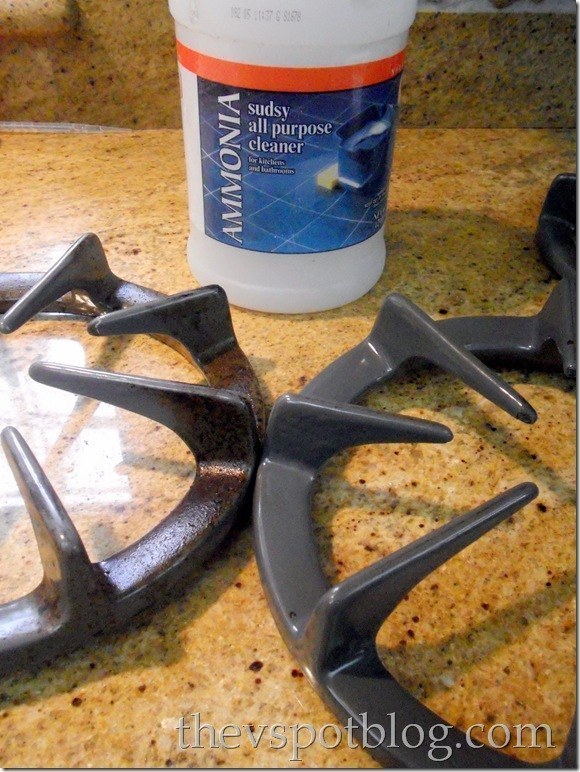
No scrubbing required. Also, you shouldn’t mix ammonia with other cleaners. Here’s the full tutorial, which you should definitely read first if you want to try this.
4. Coat the inside of your oven with a mixture of baking soda, water, and dish soap, then let it sit for at least 15 minutes.
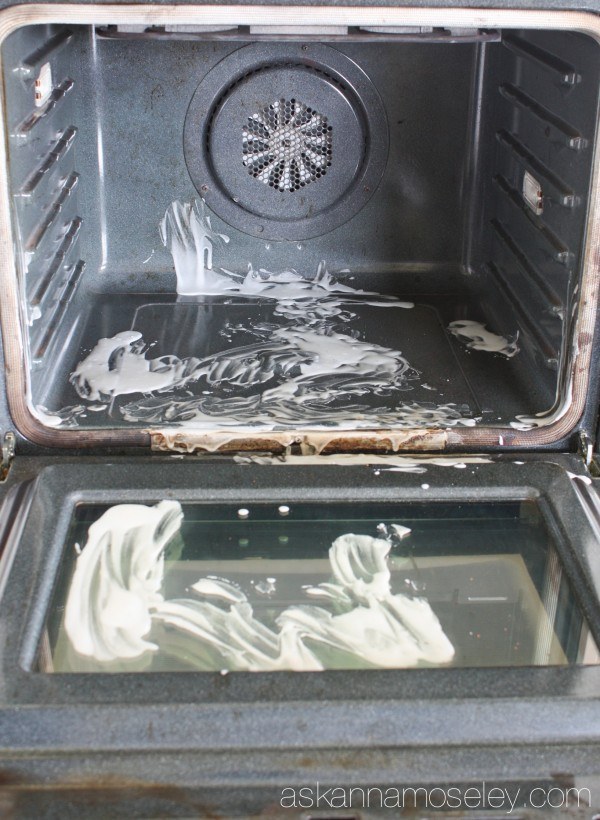
This tutorial only spot cleans the oven, but you could probably coat the inside of your entire oven (except the fabric gasket) with the mixture if it’s dirty all over.
5. Then give your oven racks a bath in dish soap, dryer sheets (yup!), and hot water.
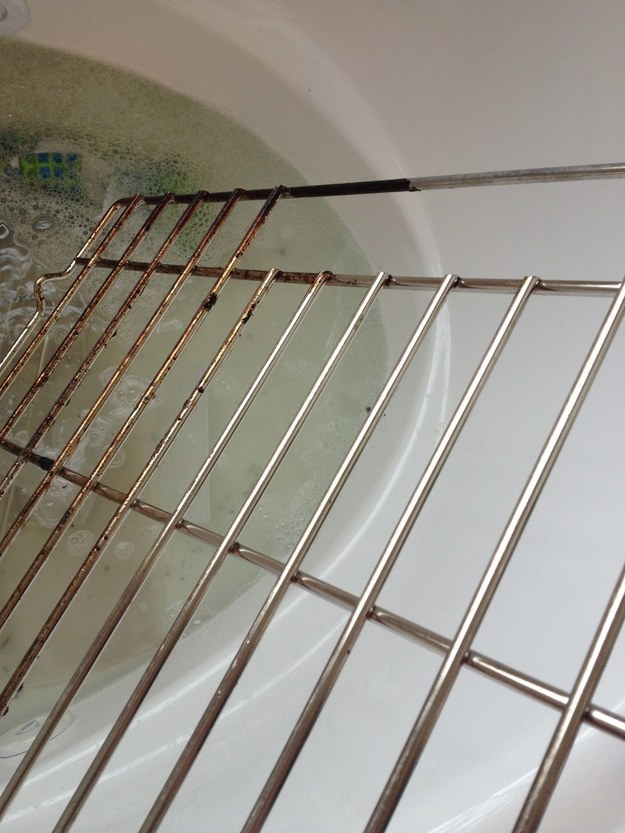
You have to let them soak overnight (or during the day for six to eight hours). Here’s the full tutorial.
6. And if you really hate cleaning your oven, consider buying an oven liner or keeping an old baking sheet on a rack at the lowest setting.

You can get this oven liner here for $19.99. If you decide to go the baking sheet route, make sure it’s on an oven rack a couple of inches from the bottom of the oven, so it doesn’t mess up your baking temperatures and times. And also — don’t line the bottom of your oven with foil, because it could mess up your oven.
7. Combat sticky kitchen dust by wiping it with cooking oil or mineral oil.
No need to smear globs of it around — just a little bit of oil on a paper towel will do. Then use a little dish soap and warm water to wipe off the oil. Here’s the full tutorial.
8. Then use a mixture of hydrogen peroxide and baking soda to scrub away stubborn stains on your cooktop.
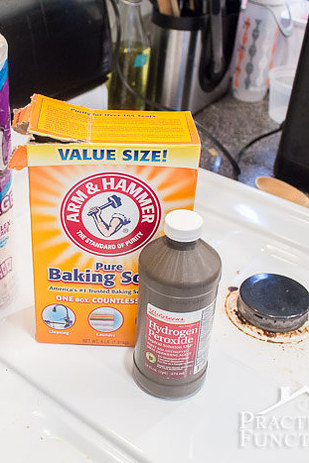
Here’s the full tutorial, which works for glass cooktops, too.
9. Use a lemon and kosher salt to scrub your wooden cutting boards and butcher blocks.

Then finish with a douse of mineral oil. Here’s the full tutorial.
10. If you have curtains in your kitchen, toss them in the washer.

Or vacuum them, or do whatever it is you do to clean them. (It will depend on the fabric.) Here’s how to make these cute cafe curtains.
12. If you have blinds, use this tongs hack to get them clean in a jiffy.
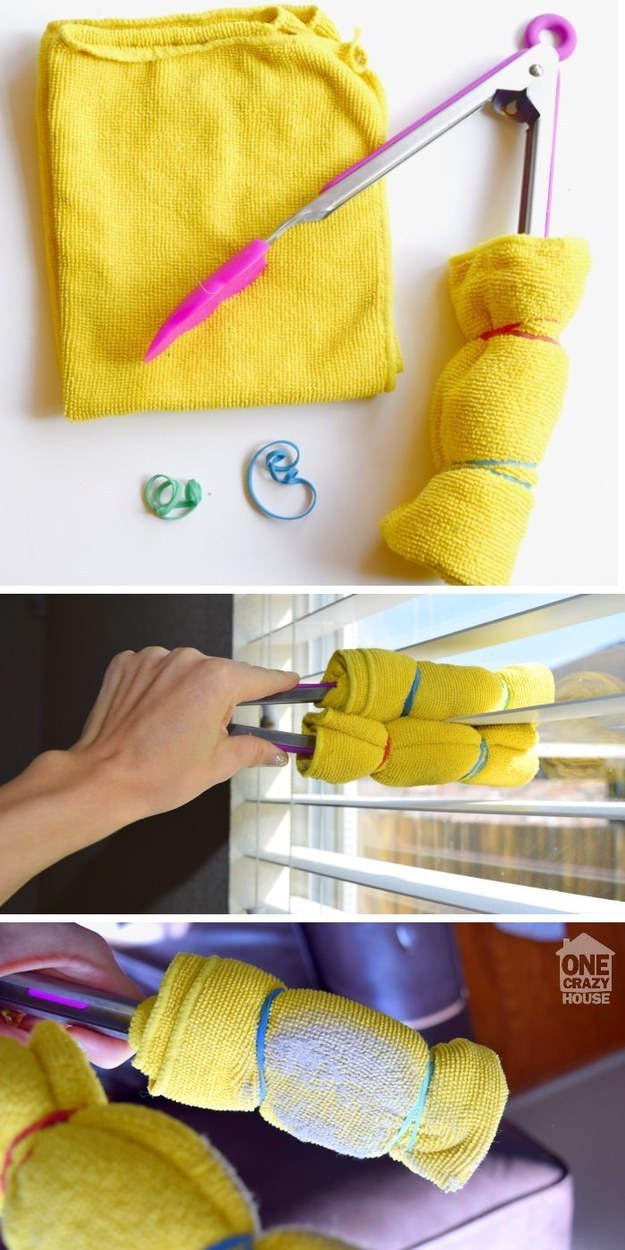
A microfiber cloth works better than, say, an old sock, because it picks up more dust instead of rubbing it around or brushing it off. Here’s the full tutorial.
13. Then clean your windows with your favorite glass cleaner.
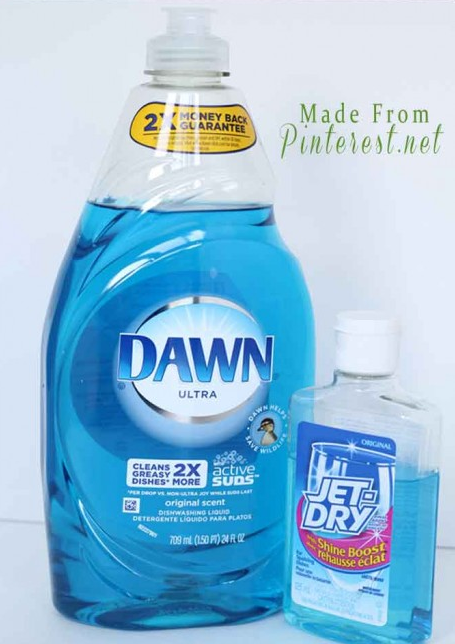
This DIY recipe uses dish soap and Jet-Dry (a rinse aid you probably put in your dish washer every once in a while).
14. Wash any dishes that are in your sink (or load them in the dishwasher and run it), then dry them and put them away.
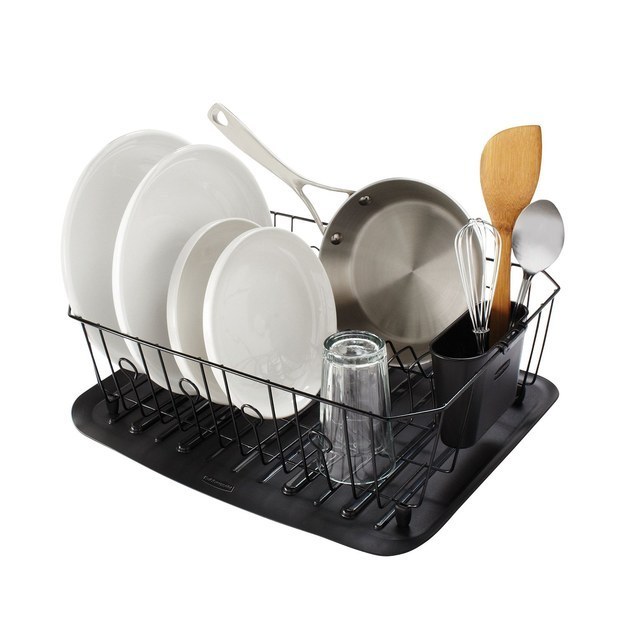
AND THEN wash your dish rack, making sure to clean out all the nooks and crannies, and dry it and put it away. This dish rack is the Sweethome’s pick for the best budget dish rack, and you can get it for $18.53 here.
15. Clean the calcium buildup off of your faucet by tying a plastic bag full of a de-scaler around it.
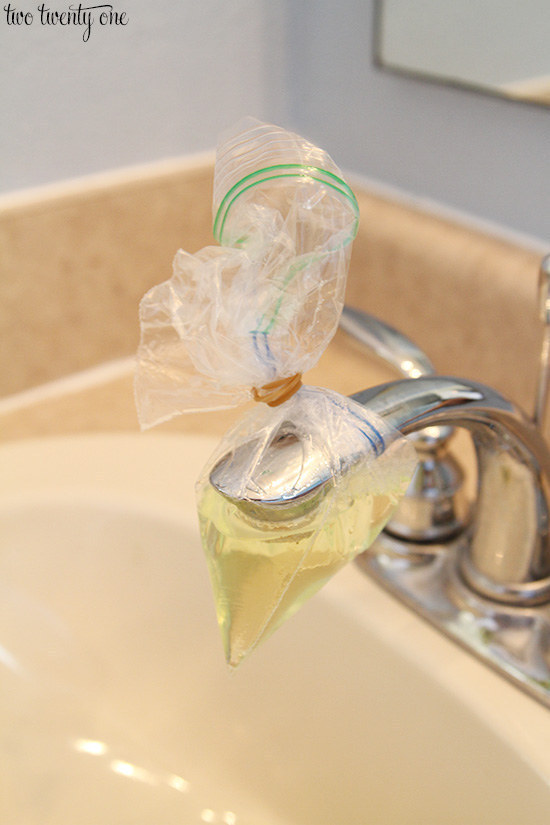
If you a have a separate sprayer off to the side, use this trick on it, too. Then if your faucet is stainless steel or chrome, polish it up with Pledge (like you did your fridge).Here’s the full tutorial, plus a recommendation for which cleaner to use.
16. If you have a garbage disposal, clean it out with an old toothbrush, making sure to get underneath the splash guard.
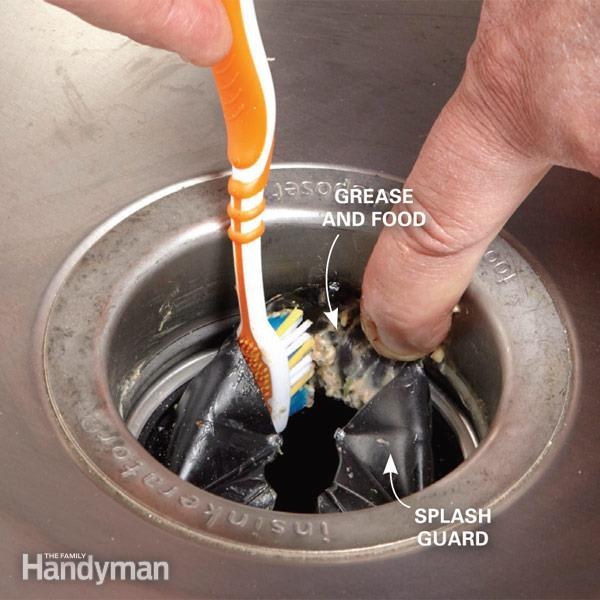
Gross, I know. Here’s the full tutorial.
17. Wash your sink out like a dish (using hot water and dish soap), then polish it with flour.
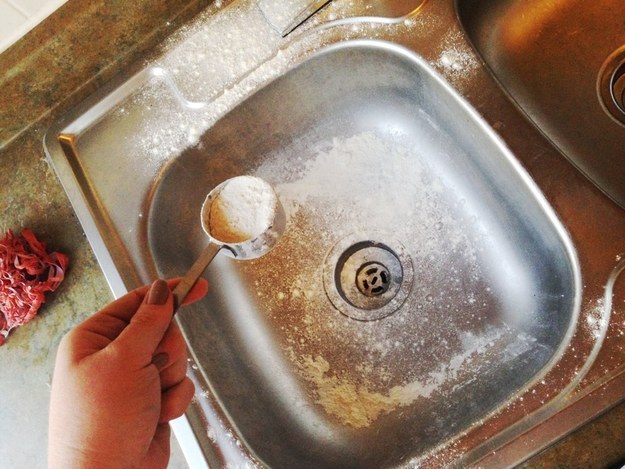
You heard me right — here’s the full tutorial.
18. Then run ice and lemon rinds through the disposal to freshen it up and sharpen the blades.
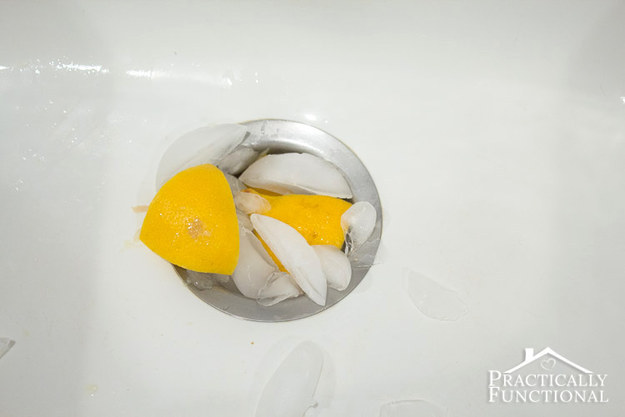
Here’s the tutorial. If you prefer, you can make a batch of Lemon Disposal Refreshersinstead.

21. Then wash the shelves, drawers, and other removable parts of your fridge and freezer as if they’re dishes.

Hot water and soap ftw. You should also wipe down the inside parts of your fridge and freezer that don’t come out. Get the full fridge-cleaning tutorial at Martha Stewart. If your fridge still smells funny even after washing it thoroughly, try leaving someactivated charcoal inside of it for a few days. (It absorbs odors much better than baking soda does.)
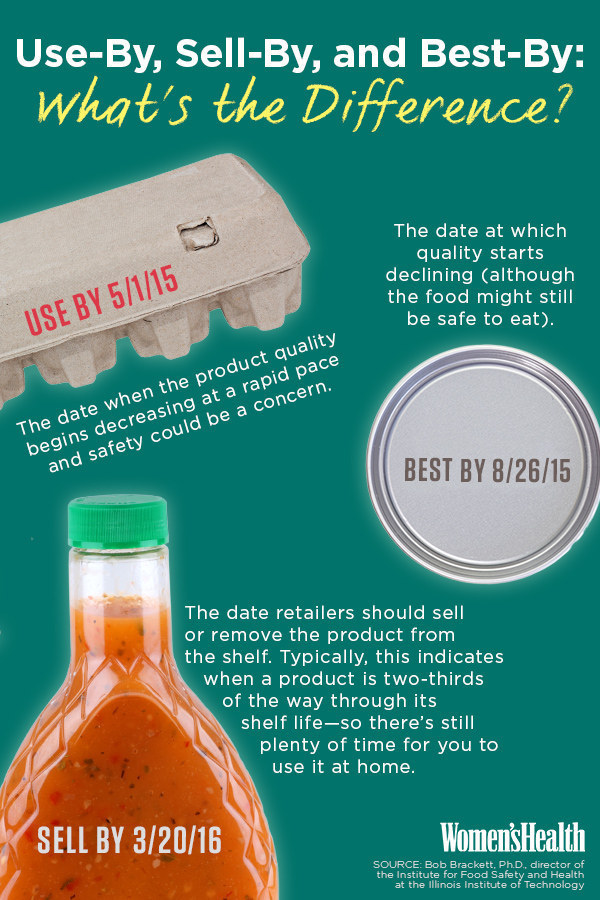
22. Then store everything in your fridge according to which areas in your fridge are the coldest.
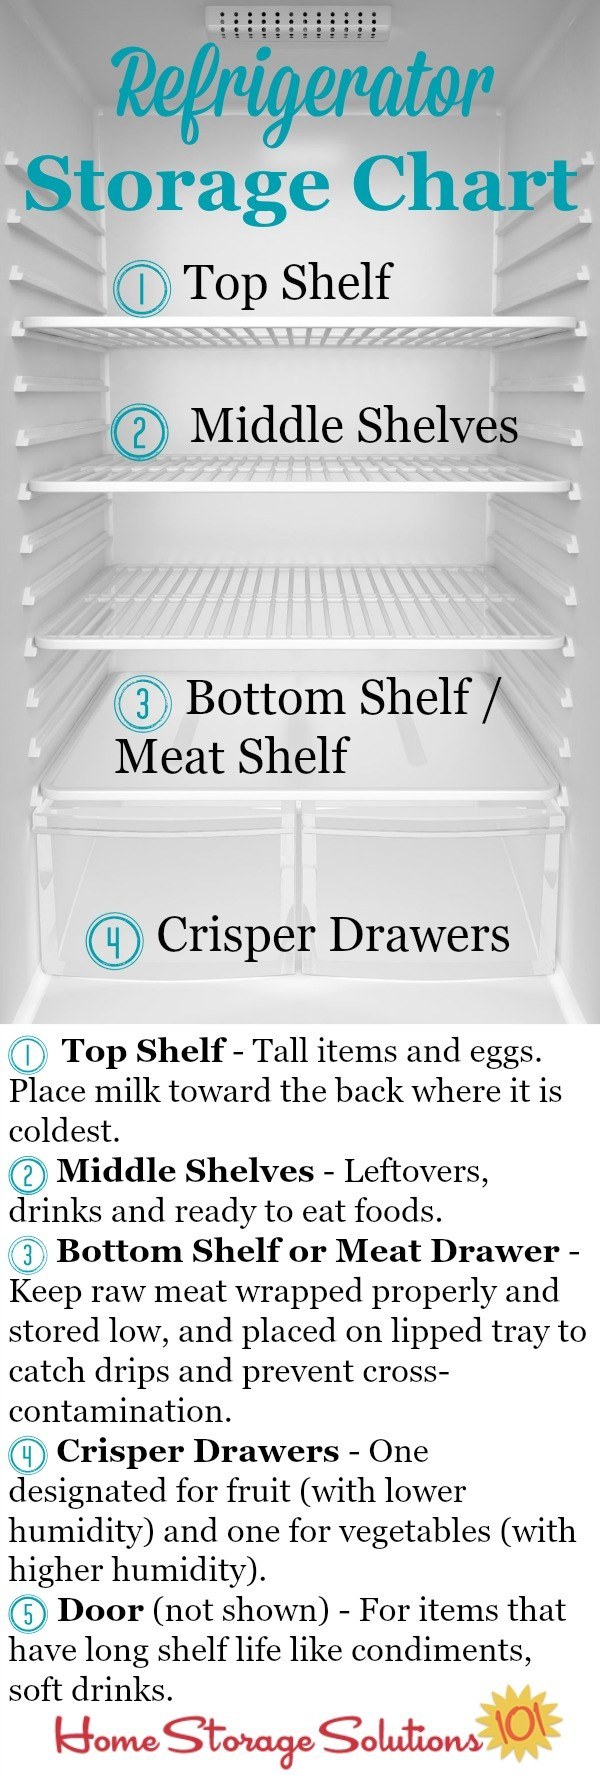
Read more about it here.
23. And consider grouping pantry foods in easy-grab bins.
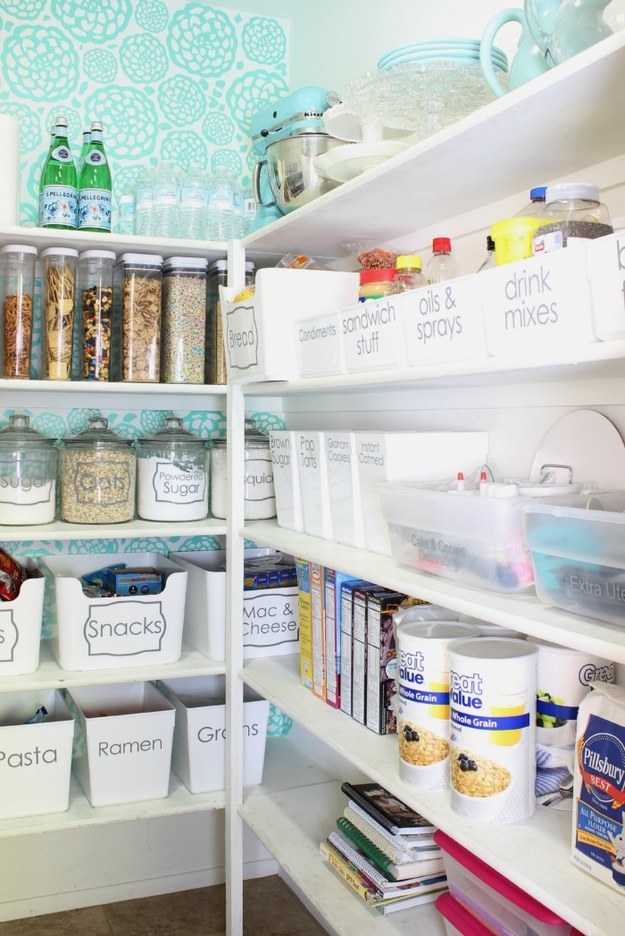
You don’t have to go as far as decanting your flour into a jar (although it’s totally respectable if you’d like to), but keeping all of your various pantry necessities in easy-grab bins could make your life just a little simpler. You’ll always be able to find what you’re looking for, you’ll always know what you’re about to run out of, and you’ll be able to put groceries away in no time. Read more here.
24. Dust and wipe down the top of your counters and fridge, then lay down paper grocery bags to catch dust in the future.
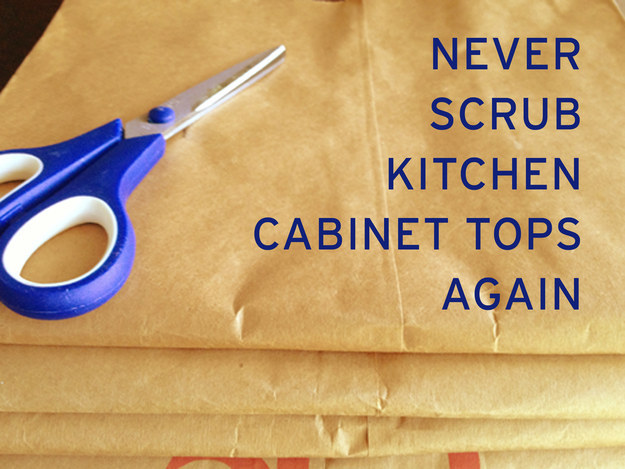
Then the next time you deep clean your kitchen, you can recycle these bags and replace them. Here’s the full tutorial. You probably want to do this part before you start cleaning your cabinets, fridge, and floor, because you don’t want dust to fall from the top of the cabinets onto your freshly cleaned surfaces.
25. If you have a stainless steel fridge or other appliances, polish them with Pledge.
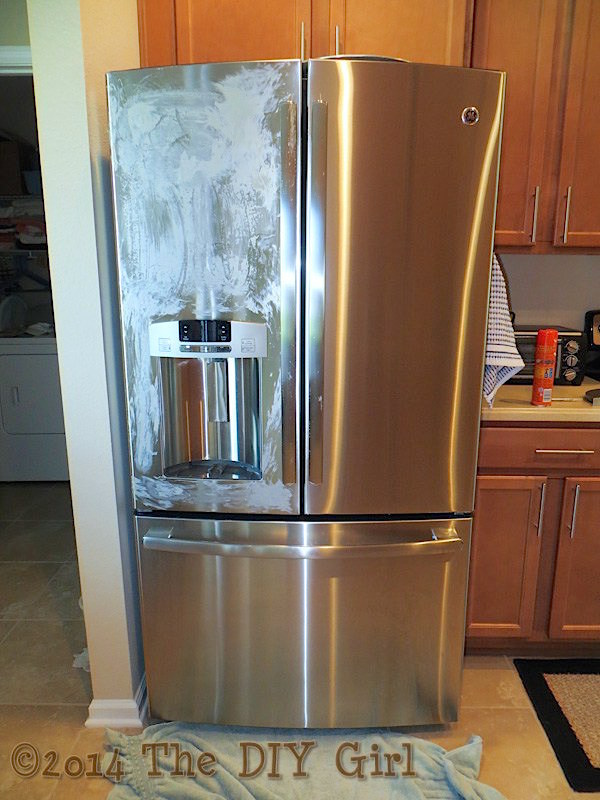
Wipe off any dried-on gunk with a damp sponge first, though. Here’s the tutorial.
26. Clean your countertops and backsplash with a cleaner that works for whatever materials are in your kitchen.
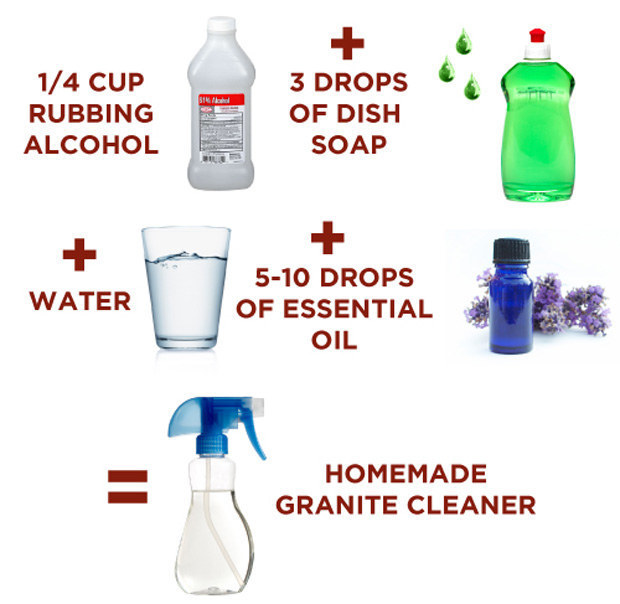
- For granite countertops this homemade cleaner works well, and you’ll want to make sure to ~avoid~ vinegar, as it could dull your finish or etch the stone (or follow your manufacturer’s instructions).
- For tile, laminate, and acrylic (Corian) countertops a mixture of hot water, dish soap, and vinegar will do the trick. Just make sure to wipe down with a clean wet cloth to avoid any residue.
- For marble countertops, nonabrasive dish soap and water does the trick, or again, follow your manufacturer’s instructions.
27. Make cleaning your wooden cabinets (and other wood in your kitchen) easy with Murphy’s Oil Soap.
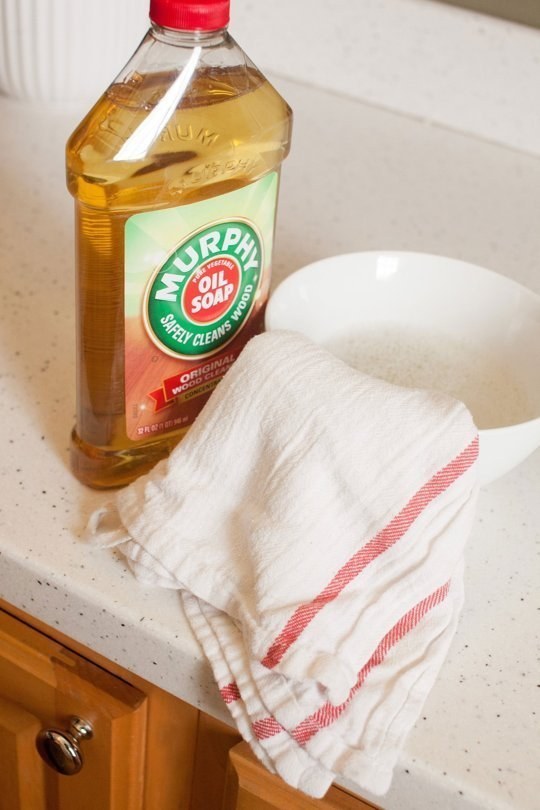
And no, they didn’t pay me to say that — it’s genuinely what I use and recommend, and so does the writer of this tutorial. You can also use it to clean the inside of your cabinets and your shelves, if they’re also wood.
28. Then consider lining your drawers and cabinets with non-adhesive liners to make them easy to clean in the future.
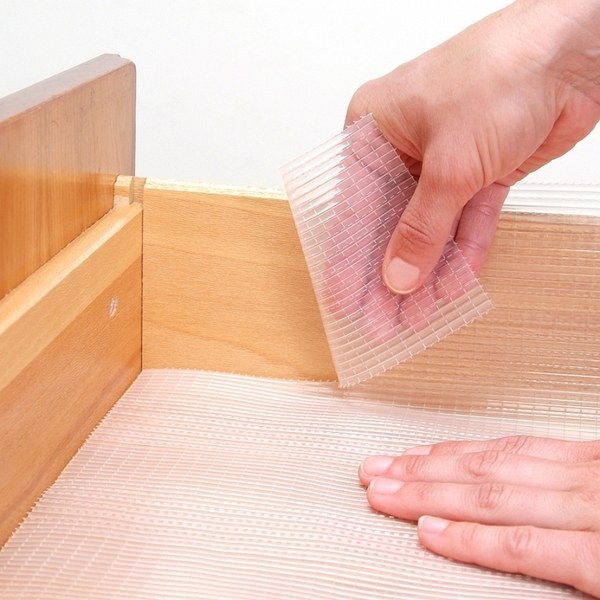
It also protects your drawers from the wear and tear of everyday use, and will keep your stuff from sliding around. This kind doesn’t require any measuring or cutting, if lining every shelf in your kitchen sounds too daunting.
29. Now (finally), sweep and mop your floors.
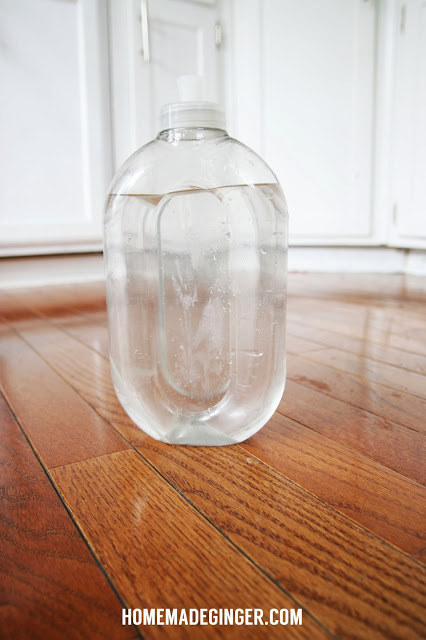
Here’s a recipe for a homemade cleaner for wood floors that would also work well on tile. Avoid any DIY cleaning recipes with dish soap in them, because those will make your floor sticky and could attract dirt unless you completely rinse off all of the soap.
YAY! You’re done! You deserve cookies.

J. Kenji López-Alt / seriouseats.com

Here’s the best pre-made dough, according to Serious Eats, because you probably have zero energy left for baking after that cleaning extravaganza. And here’s how to heat vanilla so your house smells like cookies if you really don’t feel up to dealing with dough.